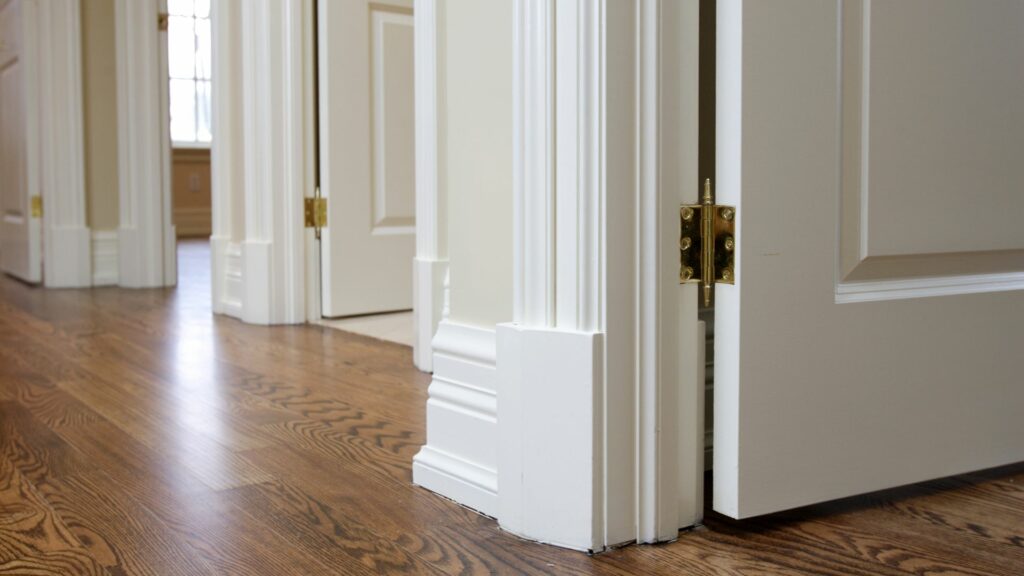
Painting the trim and doors in your home might seem like a small task, but it’s one that can significantly enhance the overall look of your space. Not only does this detail work add aesthetic appeal, but it also protects surfaces from daily wear and tear. In this blog, we’ll walk you through the steps to achieve a professional-looking finish on your trim and doors.
Getting Started: Gather Your Supplies
Before you begin, it’s important to have the right painting tools and materials. You’ll need brushes, masking tape, sandpaper, primer, and interior paint. Opt for high-quality brushes and paint to ensure the best coverage and durability. Remember, the right tools can make the difference between an okay job and a fantastic one.
Prepare Your Work Area
Preparation is key in any painting project. Start by using painter’s tape to cover areas that you don’t want painted, such as wall edges and doorknobs. Next, clean the trim and doors to remove any dirt or grease. If the surface is glossy or has old paint, lightly sanding it will help the new paint adhere better.
Choosing Your Paint
Selecting the right trim paint is crucial and paint colors. For trim and doors, you might want to consider an oil-based paint for its durability and smooth finish, though water-based paints can be easier to work with and quicker to dry. Look for a semi-gloss or gloss finish, as these are easier to clean and resist wear better than flat finishes. When choosing a color, think about how it will complement the wall color and the overall tone of the room. The most popular brands are Cloverdale (our favourite), Sherwin Williams and Benjamin Moore.
Painting Techniques
To begin painting, first apply a coat of primer. This helps the paint stick better and provides a layer that enhances the true color of the paint. When you’re ready to paint, start from the top of the trim or door and work your way down. Use smooth, long strokes to apply the paint, which will help avoid drips and brush marks. Be patient and careful—good painting is about precision.
To begin painting, first apply a coat of primer. This helps the paint stick better and provides a layer that enhances the true color of the paint. When you’re ready to paint, start from the top of the trim or door and work your way down. Use smooth, long strokes to apply the paint, which will help avoid drips and brush marks. Be patient and careful—good painting is about precision.
If you’re painting a door, paint the edges first, then move to the flat surfaces. This method helps manage any drips that might occur when you paint the edges.
Edge Painting:
For painting the edges of trim or door frames, use a smaller angled brush. This allows for more precise control and helps keep the paint line sharp and clean. When painting alongside a wall, angle the brush so that it slightly overlaps with the tape, ensuring complete coverage without paint bleeding onto the wall.
Avoiding Strokes and Marks:
To avoid brush strokes and marks, do not overload your brush with paint. It’s better to apply paint in thin layers and gradually build up coverage. After dipping your brush in paint, gently wipe off the excess on the side of the paint can. Apply the paint in smooth, uniform strokes, and always paint in one direction.
Working with Panels:
If you’re painting a paneled door, start with the panels first using a brush suitable for detailed work. Paint each panel from top to bottom before moving on to the rest of the door. This technique ensures that you can smooth out drips that may occur when painting the panels, as these areas are more prone to collecting excess paint.
Drying and Re-coating:
Between coats, allow the paint to dry thoroughly. Check the paint can for the recommended drying times. Rushing this process can result in a finish that isn’t smooth or durable. After the first coat has dried, assess whether you need additional coats. If the color looks uneven or you can see the primer showing through, applying a second or even a third coat might be necessary.
Final Touches: After completing the final coat, carefully inspect your work for any missed spots or potential drips. Use a small artist’s brush to touch up minor blemishes. This attention to detail can make a significant difference in the overall quality of the finish.
Achieving a Professional Finish
For the best results, you may need to apply several coats of paint. Wait for the first coat to dry completely before adding another. This might take longer, but it ensures a smoother finish. Once you’re done painting, remove the painter’s tape while the last coat is still slightly wet to avoid peeling off any paint with the tape.
Maintaining Your Paint Job
Once your doors and trim are beautifully painted, maintaining the look is easy with regular cleaning and touch-ups as needed. Gentle cleaning with mild soap and water usually suffices. If you notice small chips or wear over time, a quick touch-up can make them look as good as new.
Wrapping Up
Painting trim and doors is a straightforward way to refresh your home’s interior without undertaking a massive renovation. With the right preparation, tools, and techniques, you can achieve a look that’s both beautiful and durable.
If you’re not confident in your painting skills or have a large project, consider hiring us for any form of house painting. We’ll ensure that the job is done efficiently and with the quality that comes from years of experience.
Feel free to take this project on yourself and see how a simple coat of paint can transform your space!

