Textured Wall Painting
Textured walls can add depth and character to any room, but achieving a professional finish can be challenging. Whether you’re dealing with a popcorn ceiling, knockdown texture, or any other type of wall texture, the right techniques and tools can make a world of difference. In this guide, we’ll walk you through the steps to achieve a polished, professional finish on textured walls.
Understanding Different Wall Textures
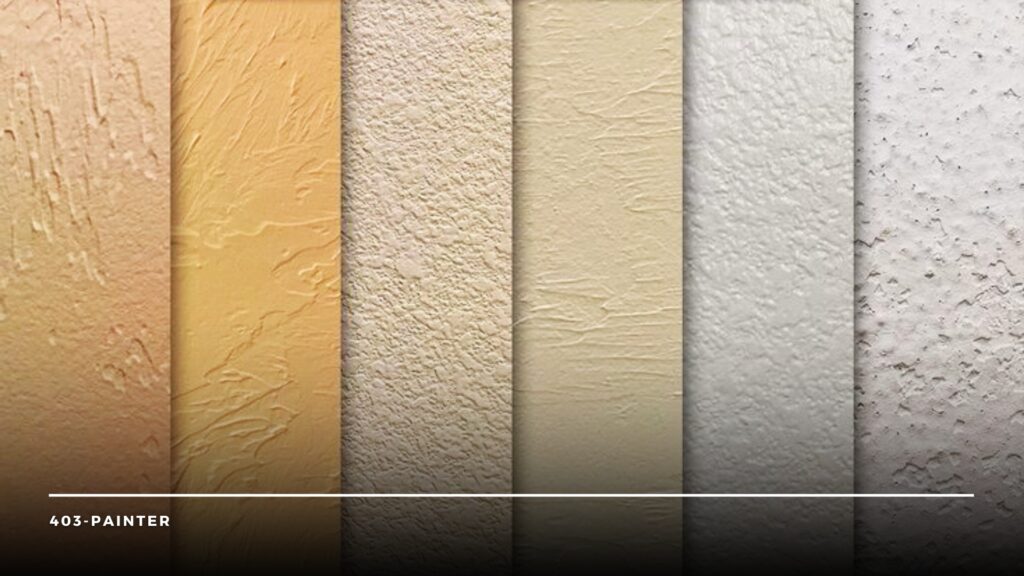
Before diving into the process, it’s essential to understand the different types of wall textures you might encounter. Each type requires a unique approach to achieve a professional finish, so familiarizing yourself with the texture you’re dealing with is crucial.
Popcorn Ceiling
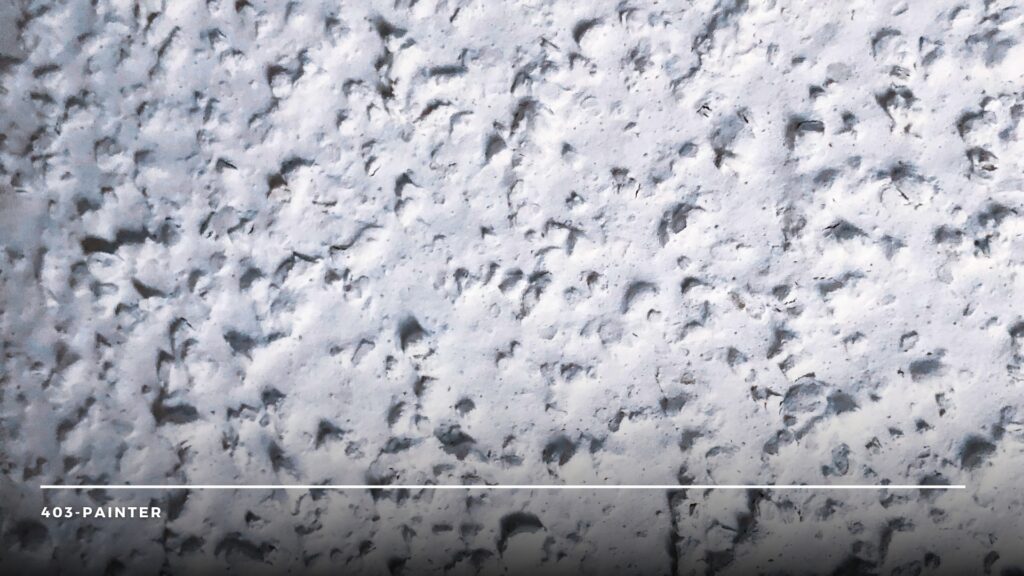
Popcorn ceilings, also known as acoustic ceilings, were popular in the mid-20th century. They have a bumpy, cottage cheese-like texture that can be challenging to paint and repair. The texture was originally used for its sound-dampening properties and ability to hide imperfections.
However, removing or painting over a popcorn ceiling requires special care, as older ceilings may contain asbestos. Always test for asbestos before starting any work on a popcorn ceiling. If you find asbestos, it’s best to hire a professional for removal.
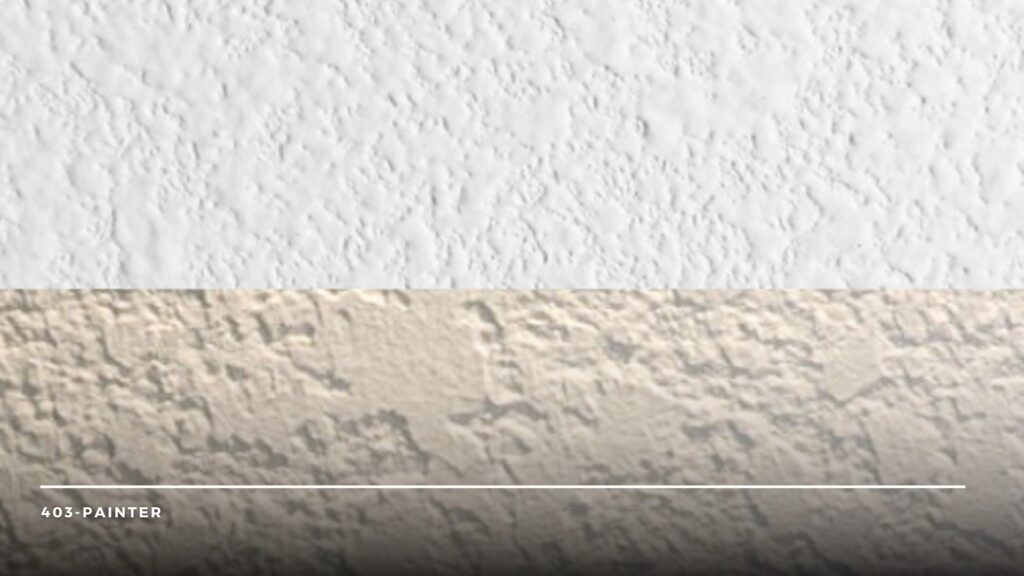
Knockdown Texture
Knockdown texture is created by applying a joint compound to the wall and then “knocking down” the peaks with a trowel. This results in a slightly flattened, uneven surface. It’s a popular choice for adding a bit of dimension without being too overwhelming.
This texture can also help to hide minor imperfections in the wall surface. When applying knockdown texture, it’s important to work quickly, as the compound can dry fast.
Orange Peel Texture
This texture resembles the skin of an orange and is created by spraying a mixture of drywall compound and water onto the wall. It’s a popular choice for modern homes due to its subtle and appealing look. Orange peel texture is less aggressive than popcorn and knockdown textures, providing a more refined finish.
The application process can be a bit messy, so make sure to cover floors and furniture before starting. The texture can be adjusted by varying the mixture’s consistency and the spray gun’s settings.
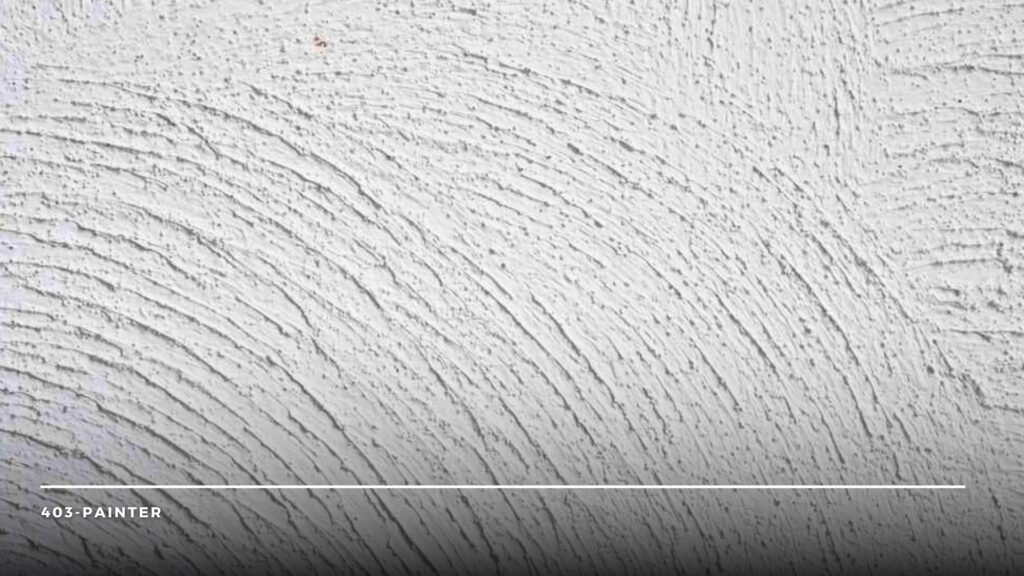
Slap Brush Texture
This technique involves using a brush to slap the wall surface, creating a unique, irregular pattern. It’s a versatile texture that can add a lot of character to a room. The slap brush texture can be applied in various patterns, such as circular or crisscross designs.
Experimenting with different brush types and slapping techniques can yield a wide range of results. This texture is also relatively easy to repair if needed, making it a practical choice for many homeowners.
Preparing Your Walls
Preparation is key to achieving a professional finish on textured walls. Follow these steps to ensure your walls are ready for painting or finishing. Proper preparation can prevent common issues such as paint peeling or uneven coverage.
Cleaning the Walls
Start by cleaning your walls to remove any dust, dirt, or grease. Use a mild detergent and water, and let the walls dry completely before proceeding. This step ensures that the paint adheres properly to the wall surface.
For heavily soiled walls, you may need to use a stronger cleaner or a degreaser. Always rinse the walls with clean water after using any cleaning solution to remove any residue.
Repairing Damages
Inspect the walls for any cracks, holes, or other imperfections. Use a patching compound to fill in any damaged areas and sand them smooth once dry. This step is crucial for achieving an even, professional finish.
For larger holes or extensive damage, you may need to use a drywall patch. Sanding the repaired areas ensures that they blend seamlessly with the rest of the wall surface.
Priming the Walls
Applying a primer is crucial, especially if you’re working with a highly absorbent surface. Choose a high-quality primer that is suitable for your specific wall texture. Priming helps to seal the wall surface and provides a uniform base for the paint. In addition to improving paint adhesion, primer can also help to hide any stains or discolorations.
In addition to improving paint adhesion, primer can also help to hide any stains or dislocations. For textured walls, a thicker, high-build primer may be necessary to fill in any gaps and create a smooth surface.
Choosing the Right Paint and Tools
Selecting the appropriate paint and tools will significantly impact the quality of your finish. The right materials can make the job easier and result in a more professional-looking outcome.
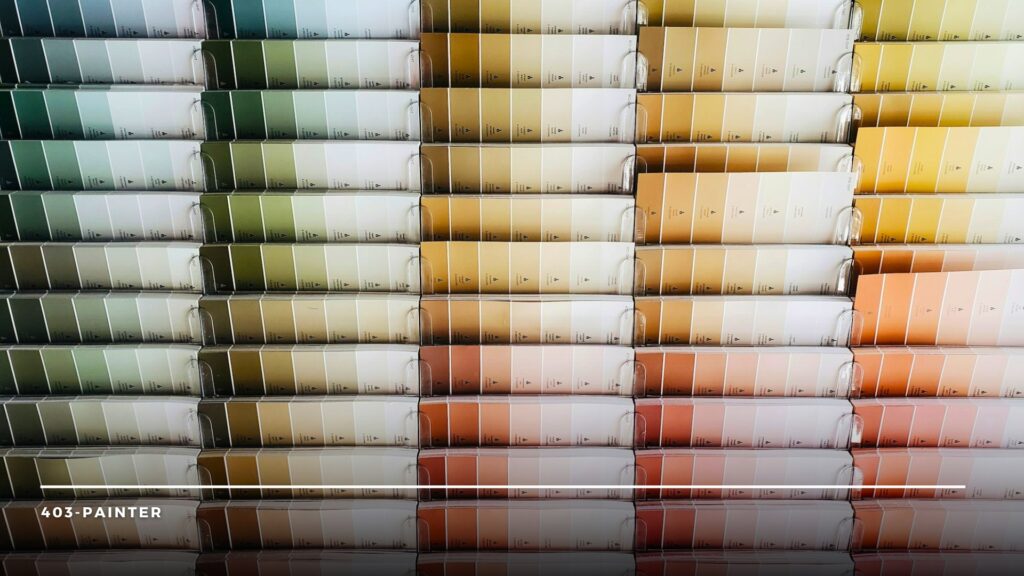
Selecting Paint
For textured walls, it’s best to use a high-quality latex paint. Flat or matte finishes work well on textured surfaces as they help hide imperfections. However, if you prefer a bit of sheen, an eggshell finish is a good compromise.
When choosing paint, consider the room’s lighting and intended use. For high-traffic areas, a more durable finish like satin or semi-gloss may be more appropriate.
Picking the Right Tools
When painting textured walls, a high-nap roller is essential. The nap size should be between 3/4 to 1 inch, depending on the depth of the texture. In addition, you’ll need brushes for cutting in corners and edges.
Other useful tools include a paint tray, painter’s tape, and drop cloths to protect floors and furniture. Investing in quality tools can make the painting process more efficient and deliver better results.
Painting Textured Walls
Now that your walls are prepared and you have the right materials, it’s time to start painting. Following the proper techniques can help you achieve a smooth, even finish.
Cutting In
Begin by cutting in the edges and corners with a brush. This step ensures that areas the roller can’t reach are covered. Be sure to feather out the edges to avoid harsh lines.
Cutting in can be time-consuming, but it’s essential for achieving a professional finish. Take your time and use a steady hand to create clean, precise edges.
Rolling The Paint
Preparation is key to achieving a professional finish on textured walls. Follow these steps to ensure your walls are ready for painting or finishing. Proper preparation can prevent common issues such as paint peeling or uneven coverage.
Applying a Second Coat
Once the first coat is dry, inspect the walls for any missed spots or thin areas. Apply a second coat if necessary, following the same technique as the first coat. A second coat can help to enhance the color and coverage, giving your walls a more polished look.
Allow adequate drying time between coats to ensure the best results. If needed, lightly sand any rough spots between coats to achieve a smoother finish.
Adding a Professional Touch
To achieve a truly professional finish, consider these additional steps. These extra touches can elevate the overall appearance of your textured walls.
Textured Paint
Textured paint can add an extra layer of sophistication to your walls. It’s available in various styles, such as sand or stone finishes, and can be applied with a roller or brush.
Textured paint can create a unique look that complements the existing wall texture.
Experimenting with different textures and finishes can add depth and interest to your walls. Be sure to follow the manufacturer’s instructions for the best results.
Decorative Techniques
Consider using decorative techniques like glazing or sponging to add depth and interest to your textured walls. These methods can create unique, custom finishes that stand out. Glazing involves applying a translucent layer of paint over a base coat, while sponging uses a sponge to dab on paint for a mottled effect.
These techniques require practice, so consider testing them on a small area first. The added effort can result in a stunning, one-of-a-kind finish.
Sealing the Surface
After the paint has dried, apply a clear sealer to protect your walls and enhance their durability. This step is particularly important in high-traffic areas or rooms with high humidity, like bathrooms and kitchens. Sealing helps to preserve the paint finish and makes cleaning easier.
Maintaining Textured Walls
Proper maintenance will keep your textured walls looking fresh and professional for years to come. Regular care can prevent damage and extend the life of your paint job.
Regular Cleaning
Dust your walls regularly with a microfiber cloth or duster. For more thorough cleaning, use a mild detergent and water.
Avoid abrasive cleaners that can damage the texture. Regular cleaning helps to maintain the appearance and longevity of your textured walls.
For stubborn stains, use a soft brush or sponge to gently scrub the area. Always test any cleaning solution on a small, inconspicuous area first.
Touch-Up Paint
Keep a small amount of your wall paint on hand for touch-ups. Over time, minor scuffs and marks are inevitable, but quick touch-ups can keep your walls looking pristine. Store the paint in a cool, dry place and label it for easy identification.
When touching up, use the same application method as the original paint job to ensure a seamless blend. Regular touch-ups can significantly extend the life of your paint finish.
Inspecting for Damage
Periodically inspect your walls for any signs of damage, such as cracks or peeling paint. Address any issues promptly to prevent them from worsening. Early intervention can save you time and money in the long run.
If you notice any significant damage, consider consulting a professional for repairs. Keeping your walls in good condition will help maintain their aesthetic appeal and structural integrity.
Interior Painting in Calgary
Achieving a professional finish on textured walls may seem daunting, but with the right preparation, tools, and techniques, you can transform your walls into stunning focal points. Understanding different textures, preparing your walls properly, choosing the right paint and tools, and adding those extra professional touches will ensure a polished and long-lasting result.
By following these steps, you’ll not only enhance the appearance of your textured walls but also increase the overall appeal and value of your home. So, roll up your sleeves, gather your supplies, and get ready to give your walls the professional finish they deserve.