Removing a popcorn ceiling can freshen up your home’s interior and increase its value. However, safety should be your top priority, particularly if you’re dealing with older ceilings that might contain asbestos. Follow these steps to remove your popcorn ceilings safely and effectively.
Understanding the Risks
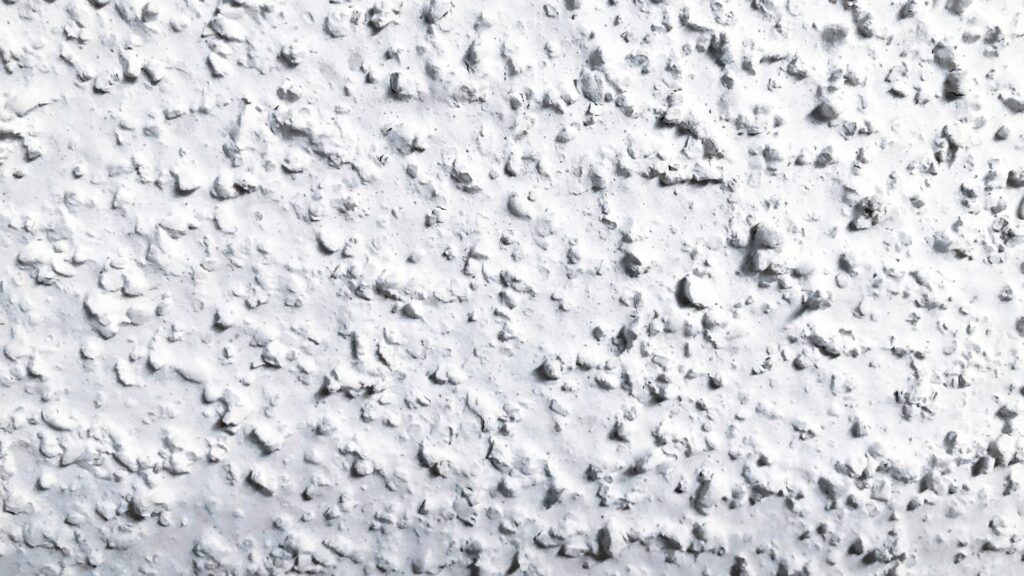
Before you start scraping away at your ceiling, it’s crucial to understand the risks involved. Popcorn ceilings installed before 1978 often contained asbestos, which, when disturbed, can pose serious health risks. If you’re unsure about the composition of your ceiling, it’s best to test it for asbestos before proceeding. You can either purchase a test kit or hire a professional to take a sample.
Accidentally Removed Asbestos Popcorn Ceiling?
If you’ve already started the removal process and suspect you might have accidentally disturbed asbestos-containing materials, stop immediately. Wet down the area to prevent fibers from spreading and contact an asbestos abatement professional for guidance.
Preparation Steps
Before diving into the removal process, take the time to prepare your space. Clear out furniture, or cover it with drop cloths. Turn off the heating and cooling system to prevent the spread of dust, and seal the room with plastic sheeting. Don’t forget to don personal protective equipment, including a respirator mask, safety goggles, and coveralls.
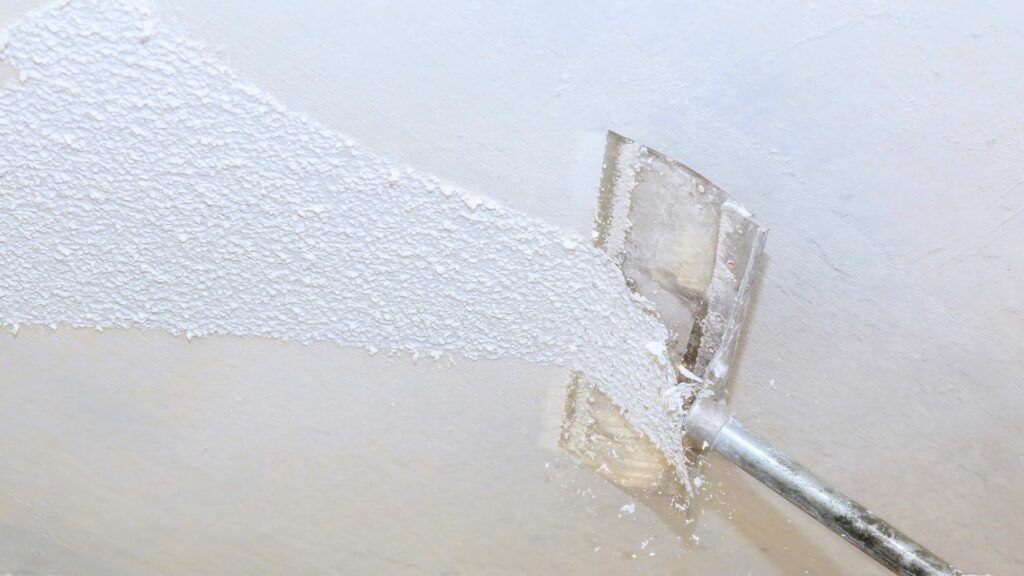
The Removal Process
With your room prepared, you can begin the removal process. Start by wetting a small section of the ceiling with a water sprayer, which helps to loosen the popcorn texture without creating dust. Allow the water to soak in for a few minutes. Then, using a wide scraper or putty knife, gently scrape away the softened texture. Be sure to work in small sections and keep the ceiling wet to minimize dust.
Popcorn Ceiling Removal Cost Calculator
If you’re considering hiring a professional for the removal, use a popcorn ceiling removal cost calculator to estimate the expenses. These calculators consider factors like ceiling size, the presence of asbestos, and your location to give you a ballpark figure.

Disposal and Cleanup
Once you’ve removed the popcorn texture, you’ll need to dispose of it properly, especially if it contains asbestos. Bag the waste in sealed plastic bags and consult local regulations on asbestos waste disposal.
Finally, clean up the room thoroughly, wiping down walls, floors, and any surfaces that may have collected dust. If asbestos was present, again, it’s best to have a professional handle the cleanup to ensure no fibres remain in the air.
Finishing Touches
After the popcorn texture is gone, you may need to patch and sand the ceiling before applying a fresh coat of paint. With patience and careful attention to detail, your ceiling will soon be a smooth and modern surface.
Removing a popcorn ceiling can be a rewarding DIY project, but never at the expense of your safety. If you’re in doubt, it’s worth the cost to hire professionals who can ensure the job is done correctly and safely.
Do you have more questions about popcorn ceiling removal? Drop them in the comments below, and we’ll help guide you through the process.