
Staining your fence not only enhances its appearance but also extends its life by providing protection from the elements. However, before you can dive into the staining process, proper preparation is key. This step-by-step guide will walk you through how to prep your fence for stain effectively, ensuring the best possible outcome for your wood protection efforts.
Proper fence staining preparation is a critical step that can dramatically affect the longevity and effectiveness of your stain. By taking the time to prepare the surface thoroughly, you can ensure that the stain will adhere properly and provide lasting protection for your wood fence.
Understanding the Importance of Surface Preparation
Surface preparation is the foundation of any good staining job. It involves cleaning, repairing, and smoothing your fence so that the stain can penetrate the wood and provide lasting protection. Without proper preparation, the stain may not adhere well, leading to premature peeling and fading.
The Consequences of Skipping Prep Work
Skipping prep work can lead to a host of problems. The stain might not adhere properly, resulting in a blotchy and uneven finish. Over time, these issues can lead to more significant problems like wood rot and structural damage, as the protective qualities of the stain will be compromised.
Steps to Prep Your Fence for Stain
To get your fence ready for staining, follow these essential steps:
Cleaning the Fence
- Remove Debris and Cobwebs: Use a broom or a brush to clear away any loose debris, cobwebs, and dirt from the surface of the fence.
- Wash the Fence: You can use a pressure washer set at a low to medium setting or a garden hose with a spray attachment to thoroughly clean the wood. Be cautious with the pressure setting to avoid damaging the wood.
- Apply a Wood Cleaner: Use a quality wood cleaner to remove any mildew, mold, or stains. Make sure to follow the manufacturer’s instructions for application and rinsing.
- Allow the Fence to Dry: It’s crucial to let the fence dry completely after cleaning. This can take a couple of days, depending on the weather and humidity levels.
Repairing Damage
- Inspect for Damage: Look for any signs of wood damage, such as splinters, cracks, or loose boards.
- Make Repairs: Replace any severely damaged boards and secure any loose ones. Use wood filler to patch small cracks and holes.
- Sand Rough Spots: Once repairs are done, sand any rough areas to create a smooth surface that will accept the stain evenly.
Assessing the Wood
- Check Wood Condition: Evaluate the condition of the wood to determine if it’s ready for staining. New wood, for example, may need to weather for a few months before it’s ready to accept stain.
- Testing for Readiness: Perform a water test by sprinkling water on the wood. If the water beads up, the wood isn’t ready for staining. If it soaks in, you can proceed.
Choosing the Right Stain for Your Fence
Selecting the appropriate stain for your fence is as important as the preparation process. Consider these factors:
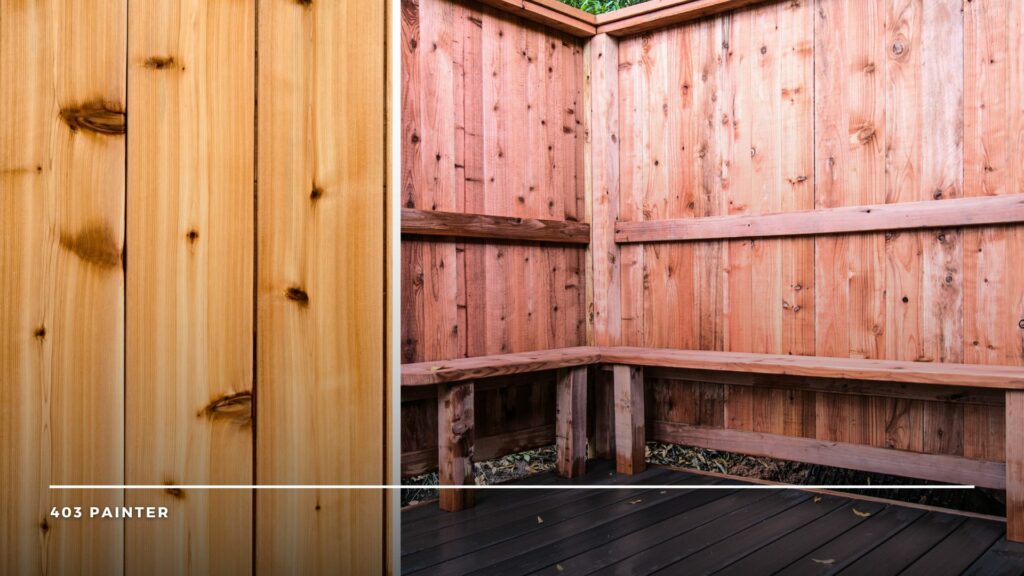
Type of Wood
Different woods respond differently to stains. For instance, cedar and redwood have natural oils that can affect stain absorption.
Climate Conditions
Choose a stain that’s formulated to withstand the specific climate conditions in your area, such as UV resistance for sunny locales or mildew resistance for humid regions.
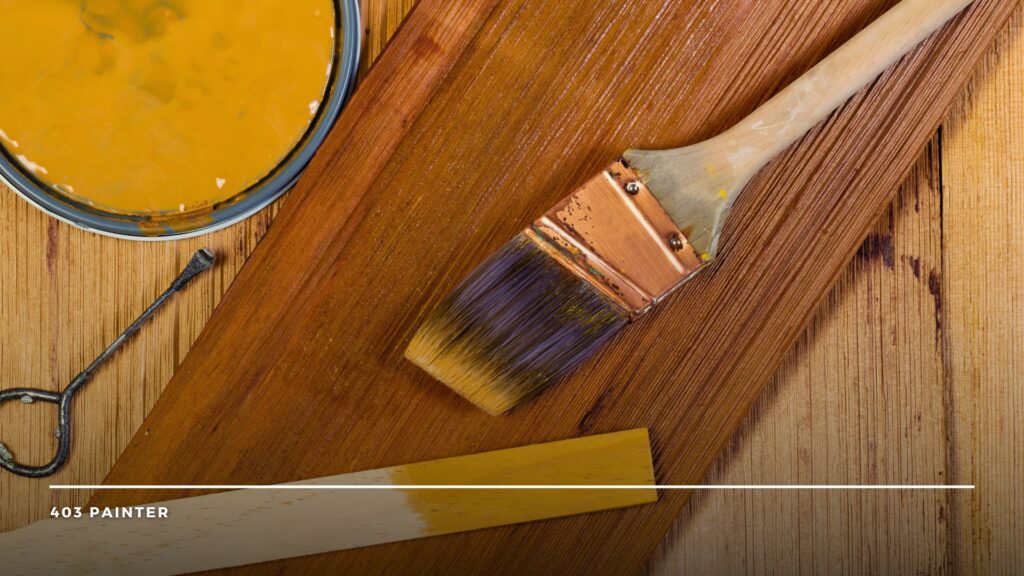
Desired Appearance
Stains come in various opacities, from transparent to solid. Decide how much of the wood grain you want to show through and select a stain accordingly.
Environmental Impact
If environmental impact is a concern, look for eco-friendly stains with low volatile organic compounds (VOCs).
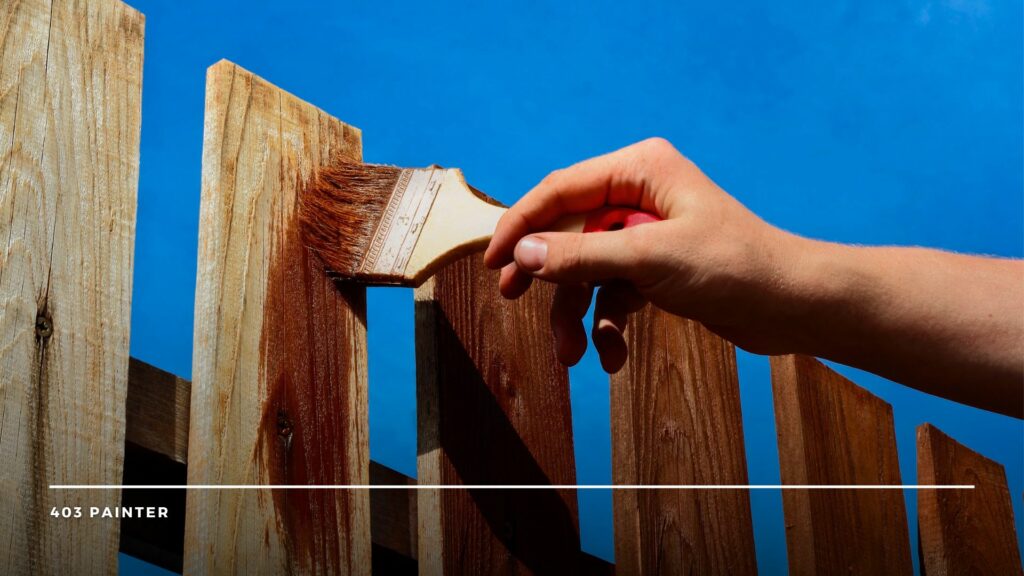
Applying the Stain
When it’s time to stain your fence, follow these best practices:
- Choose the Right Day: Ideal staining conditions are on a dry day with moderate temperatures and low humidity.
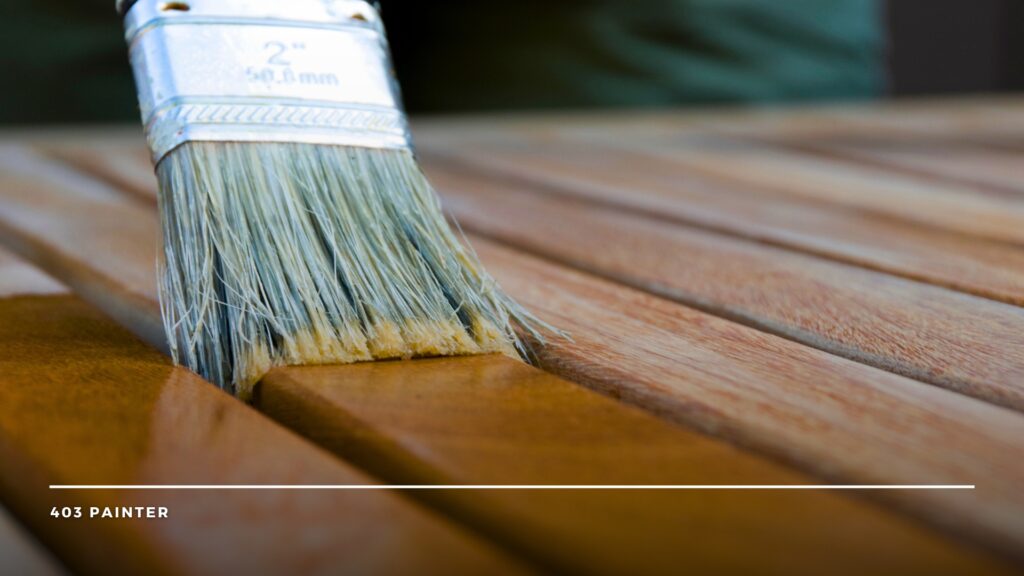
- Apply with the Proper Tools: Use a paintbrush, roller, or sprayer to apply the stain evenly. Brushes are great for getting into nooks and crannies, while sprayers can speed up the process on larger fences.
- Work in Sections: Tackle one board at a time to maintain a wet edge and prevent lap marks.
- Follow Manufacturer Directions: Apply the recommended number of coats, and allow adequate drying time between each coat as suggested by the stain manufacturer.
Maintaining Your Stained Fence
Once your fence is stained, it’s important to maintain it to extend the life of the stain and the wood.
Regular Cleaning
Lightly wash your fence annually to remove dirt and debris. This helps prevent mildew and keeps the stain looking fresh.
Touch-Up Work
Inspect your fence yearly and touch up any areas where the stain has faded or worn away, particularly in high-traffic areas.
Reapply Stain as Needed
Depending on the type of stain and your climate, you will need to reapply stain every few years to maintain optimal protection and appearance.
Final Considerations
Preparing your fence for stain may seem like a time-consuming task, but it’s well worth the effort. A well-prepped and stained fence not only looks beautiful but is also better protected against the elements, which means less maintenance work for you in the long run.
Remember to always prioritize safety when working with power tools and chemicals during the preparation process. Wear appropriate protective gear, such as gloves and safety glasses, and follow all product instructions and safety warnings.
By following the steps outlined in this guide, you’re setting the stage for a successful staining job that will enhance the curb appeal of your property and ensure your fence stands strong for years to come.
In summary, proper fence staining preparation includes cleaning, repairing, assessing, and choosing the right stain. It’s a process that requires attention to detail and patience, but the results will speak for themselves. Your fence will not only look great but will also have the best chance of withstanding the test of time and weather.